Well, hello there! It has been a minute, hasn’t it? I’ve been in a little food lull the past few weeks with the seasons changing (still too early for asparagus here but all the delicious citrus is also gone), my boyfriend still slowly recovering from food poisoning (not sure why he thought getting eel in this landlocked city was a good idea), and putting all my creative energy into my magazine project, Driftless.
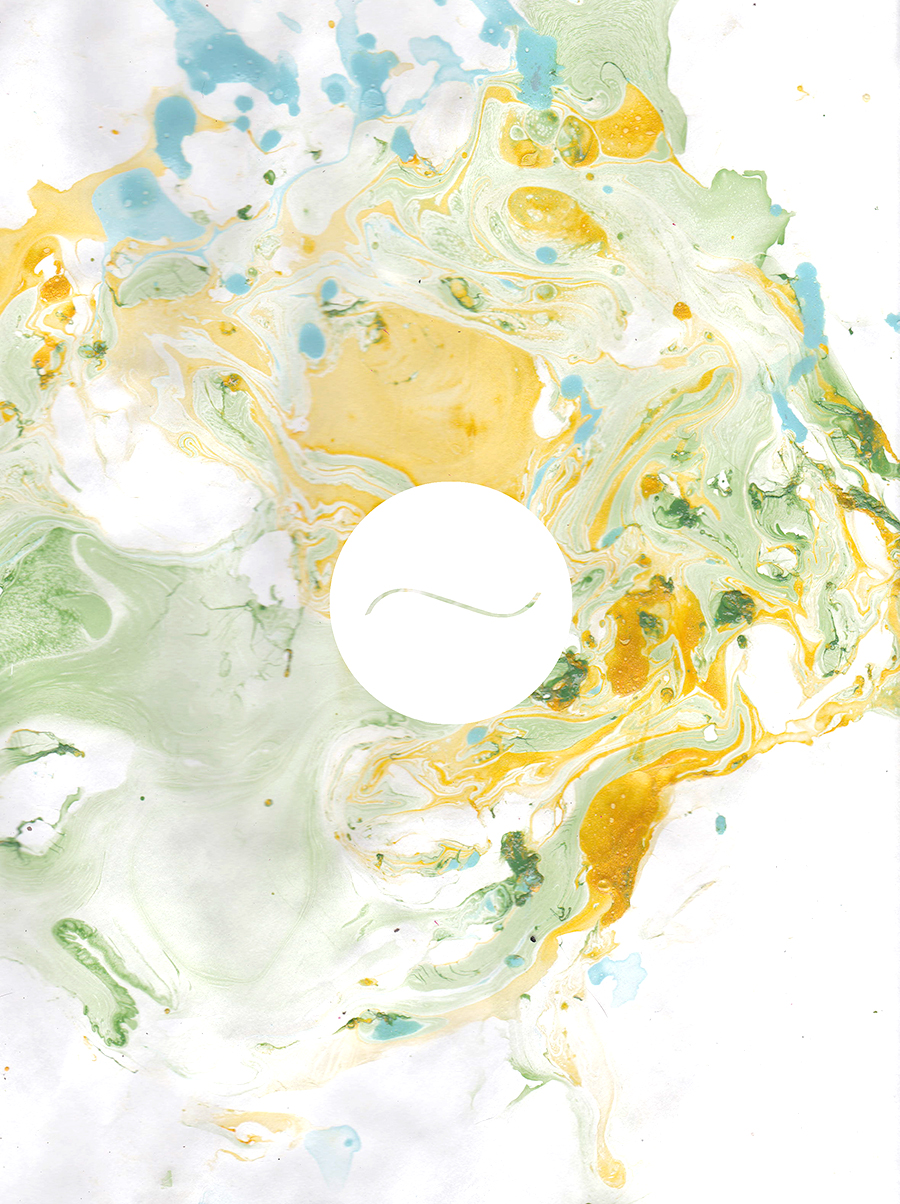
Did I mention that trying to create your own magazine is a TON of work? Theres so much time and energy that goes into fielding submissions, building a website, creating a brand, laying out the print issue, and figuring out where to get it printed. We’ve finally gathered all the content for the magazine and are now in the process of laying the magazine out. I made some marbled backgrounds over the weekend for filler pieces in the magazine and thought it might be fun to share a tutorial for them here.
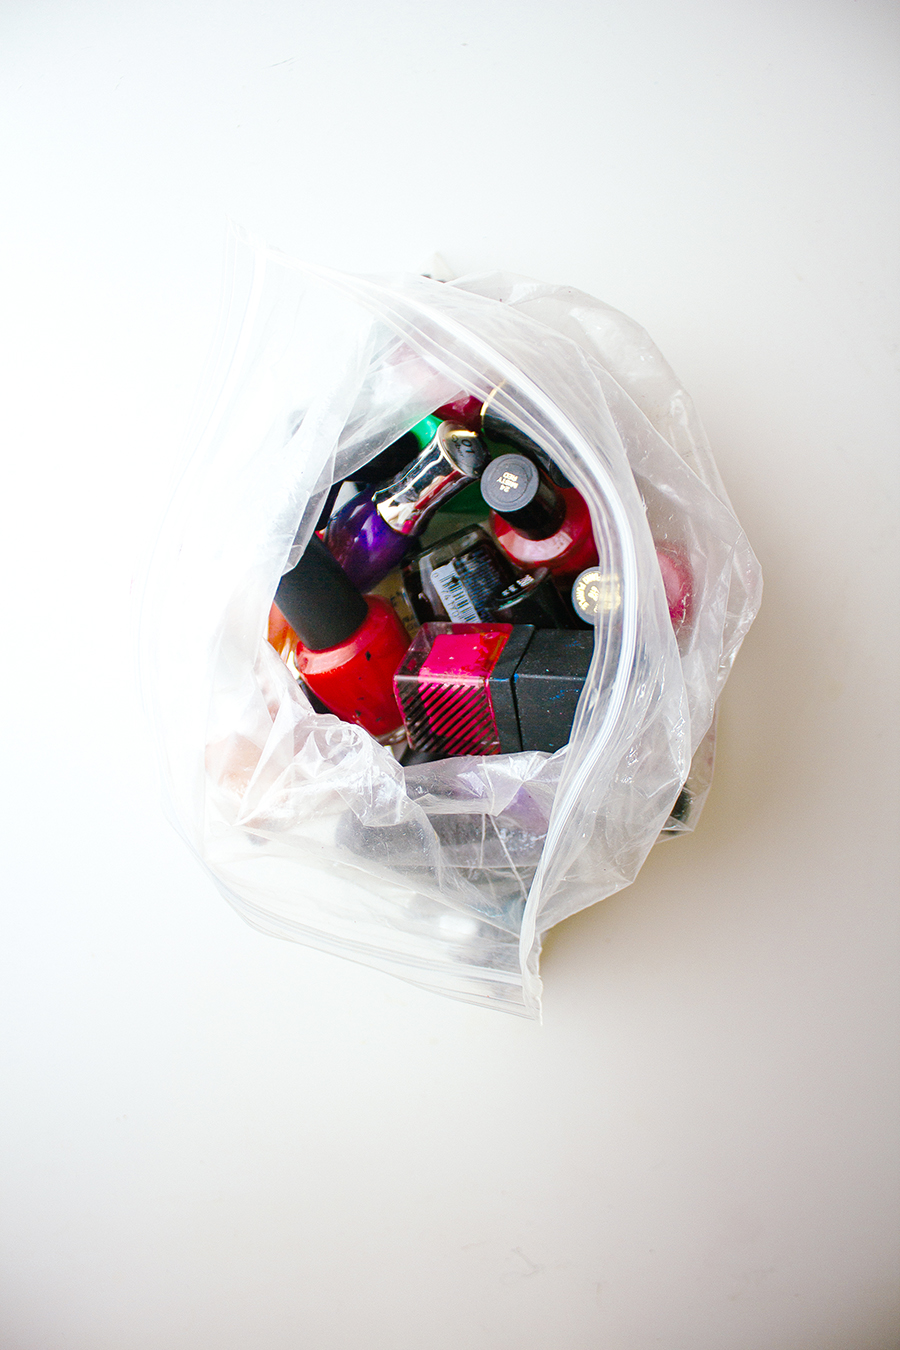
There are dozens of tutorials out there on this and I’ve just decided to share a super simple one using household goods. Some tutorials recommended using oil paint but I had loads of nail polish on hand that I haven’t used in years so I figured this would be a good excuse to get rid of some of them.
It only takes about 10 minutes once everything is prepped and the finished product is perfect for media background or to frame or to give away as gifts.
Marbled Paper DIY
- Construction Paper (both colored and white)
- An assortment of nail polish
- A wide & shallow plastic/glass bin at least the size of your paper (I used an old seed starter bin)
- Water
- Straws or popsticks
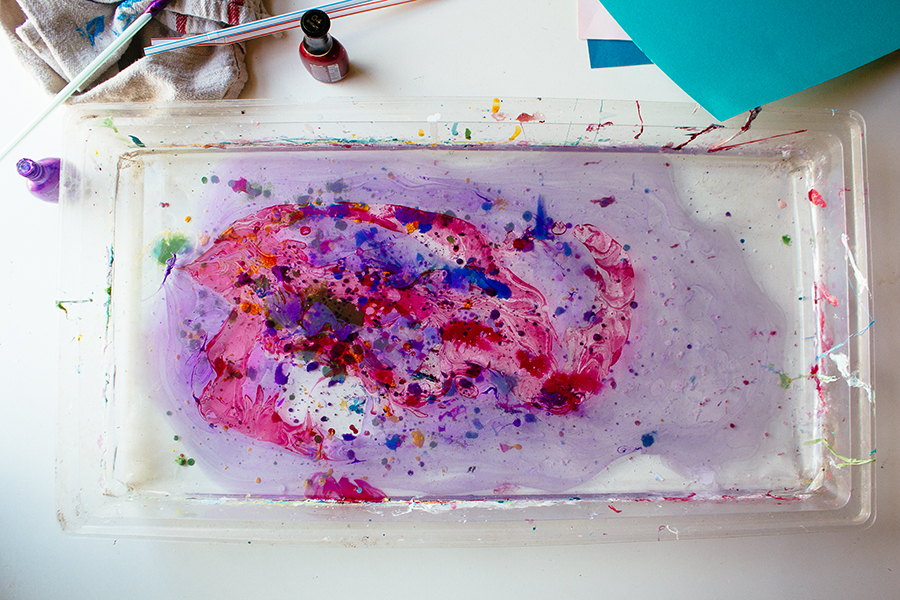
Fill your bin with at least 1/2 inch of water and let sit for 30 minutes or until the water comes to room temperature. Pick a few colors of nail polish and pour them into the water (you won’t need to use a lot of polish per a sheet). Quickly grab your straw / chopsticks and swirl the paint around the water until a desired pattern is reached. Place your paper directly down over the design and let it sit in the water for about 3 seconds (make sure you don’t press it down so much that the paper touches the bottom of the bin).
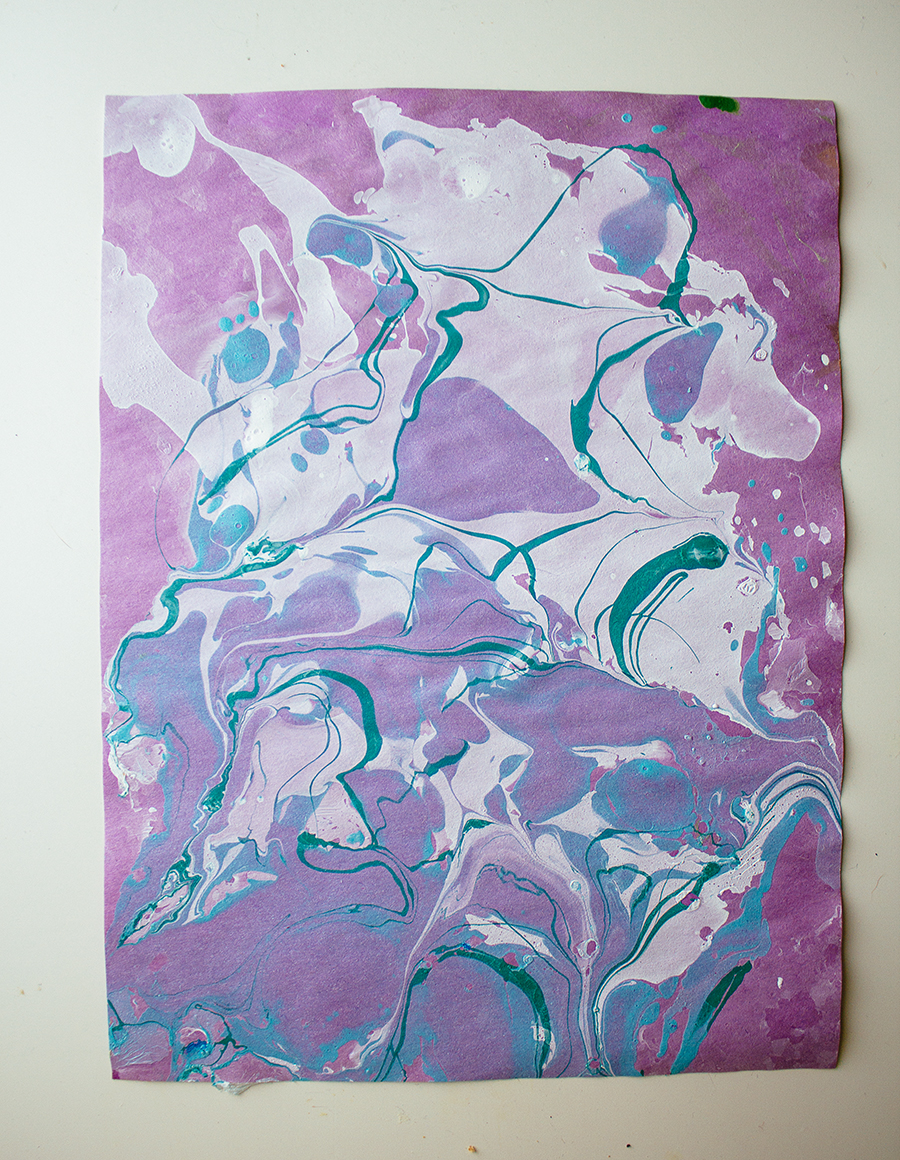
Slowly remove the paper from the water and your design should have transferred to your paper like the photo below.
Hang to dry or find a clean spot outside where it can lay uninterrupted. Once completely dry, you can flatten the sheets of paper by placing them inside large books and letting them flatten overnight.
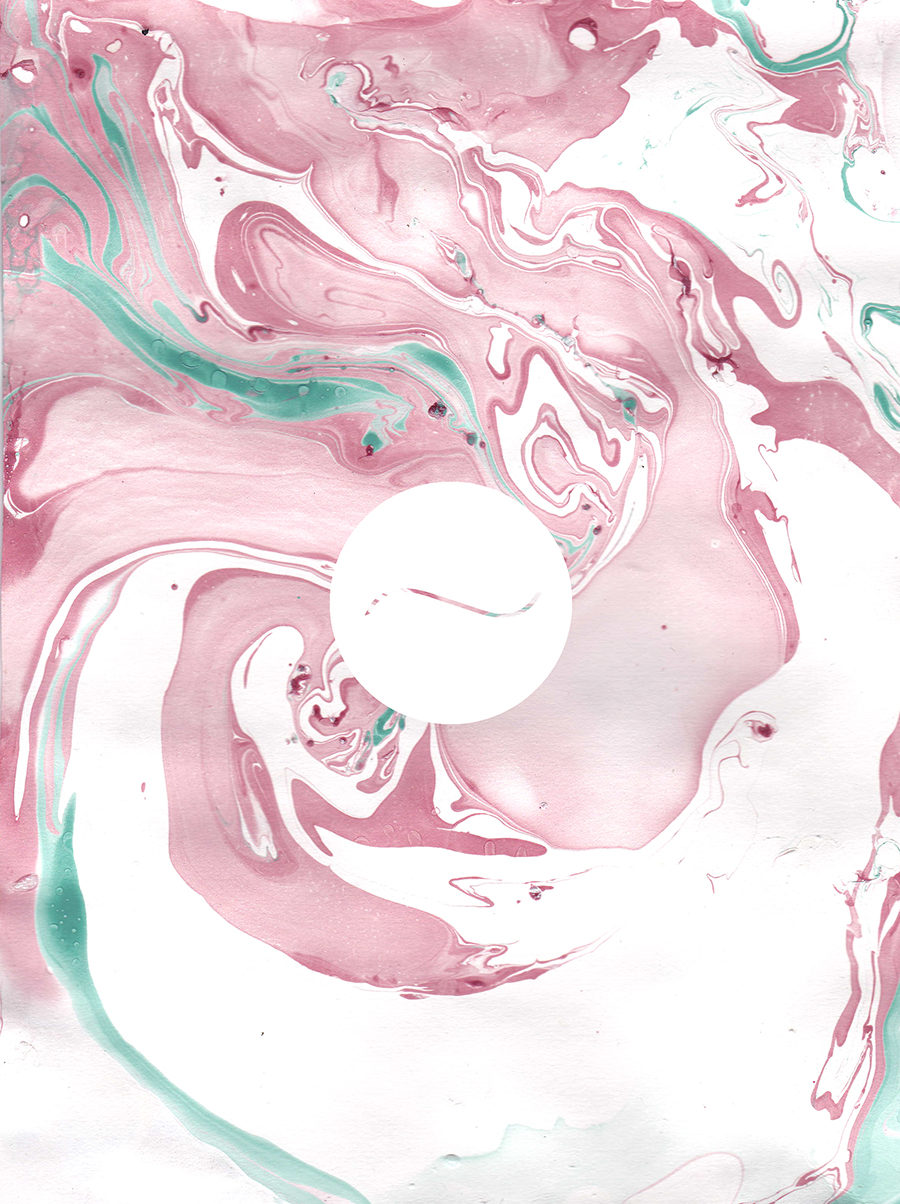
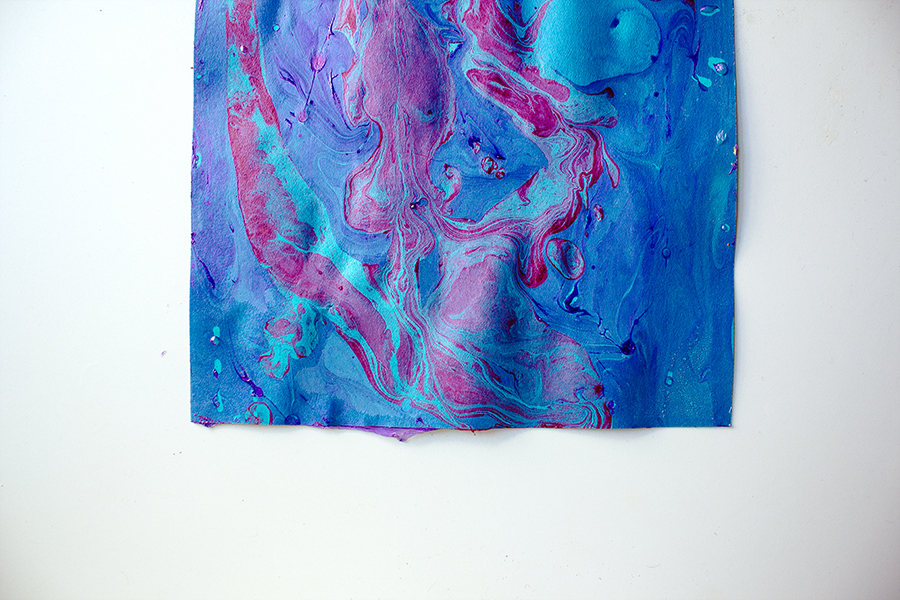
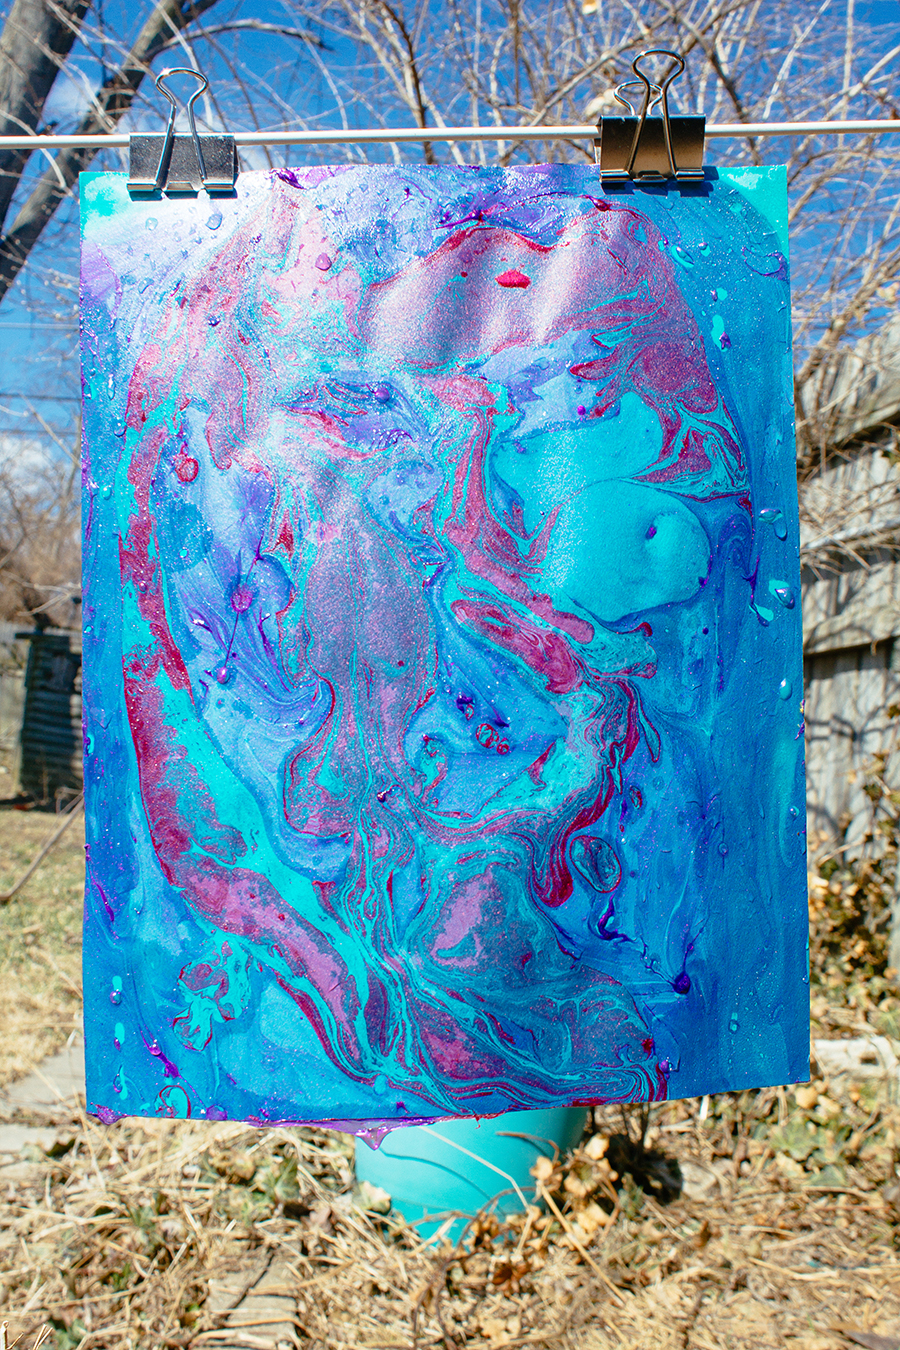
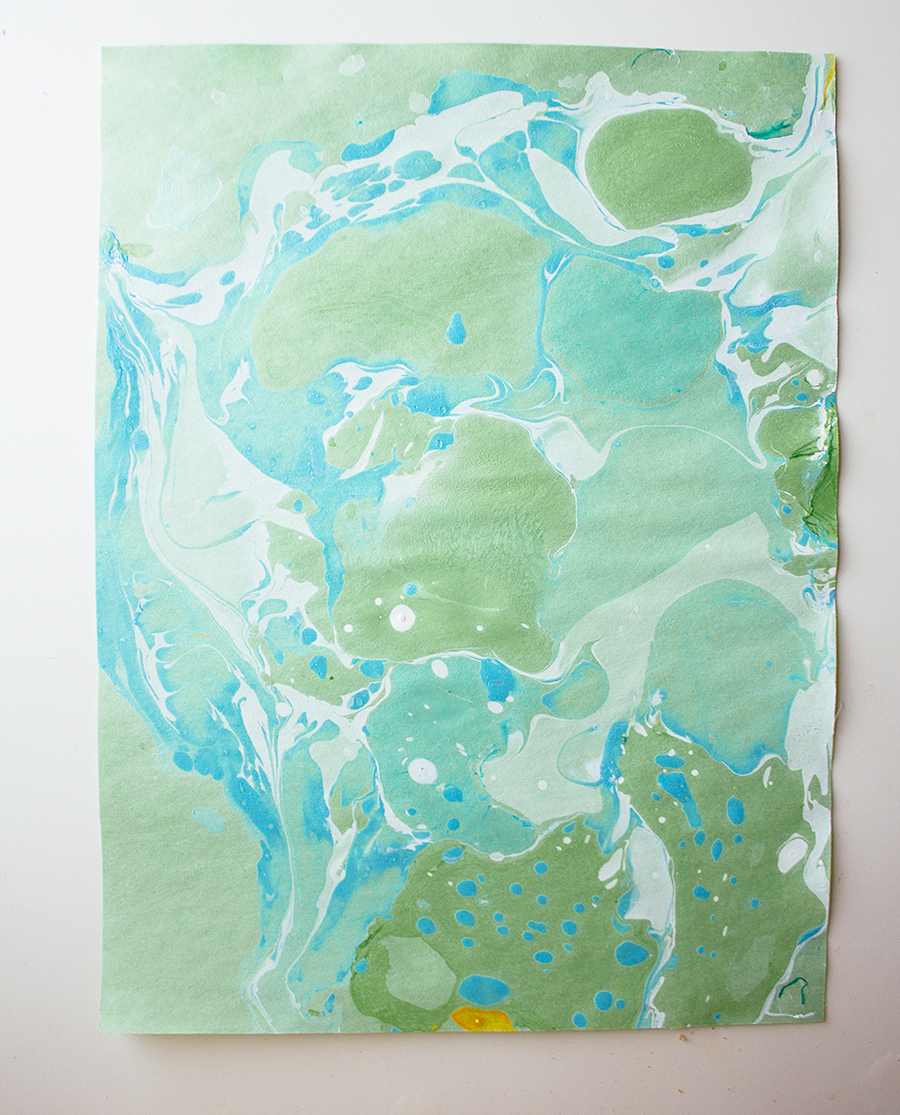
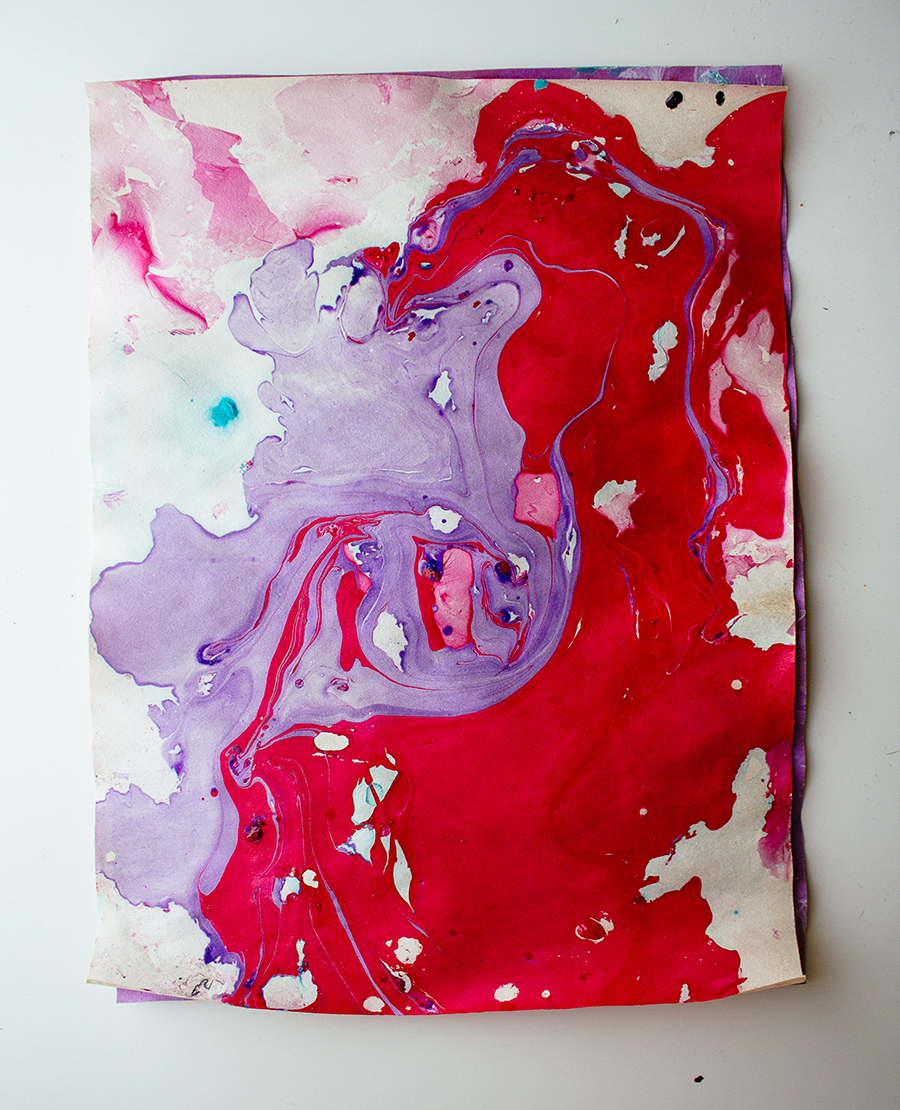
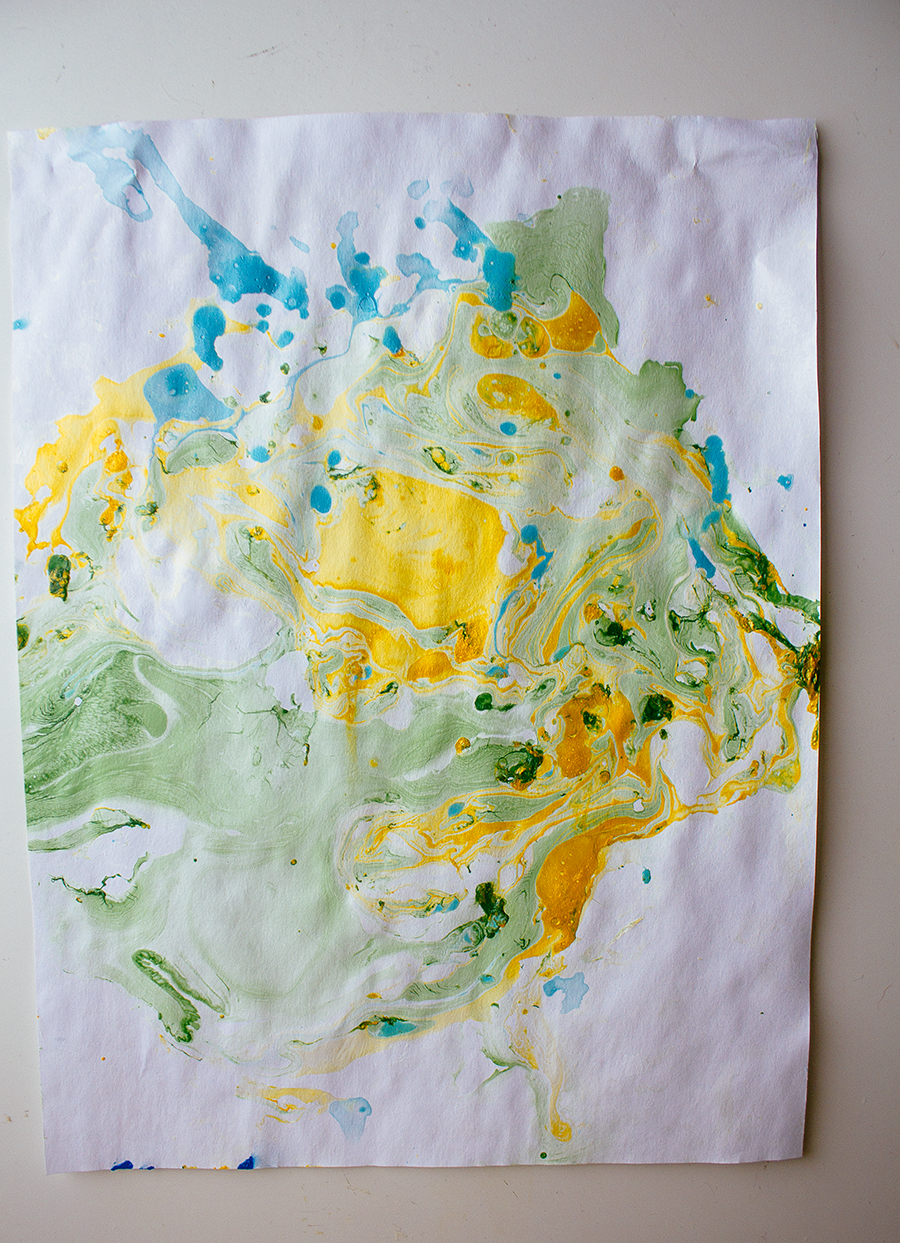
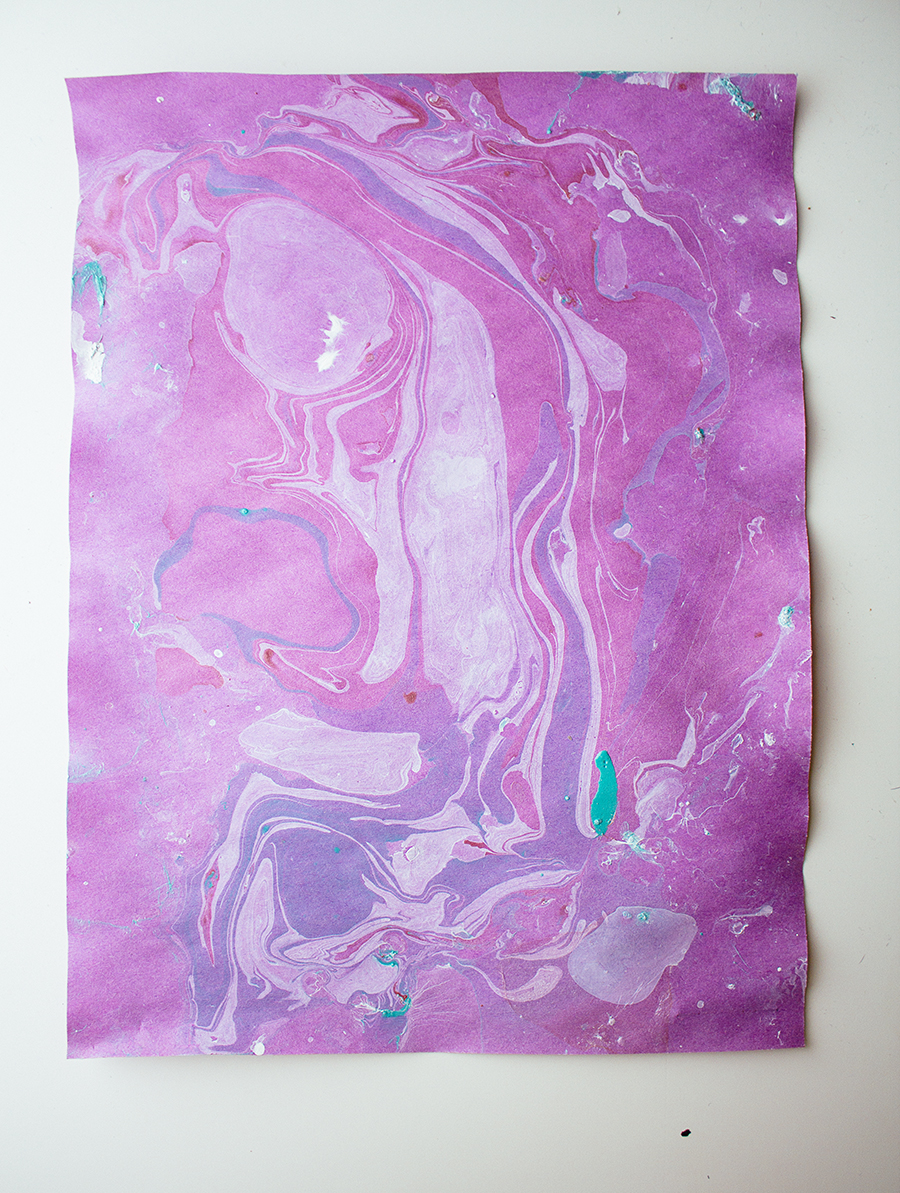
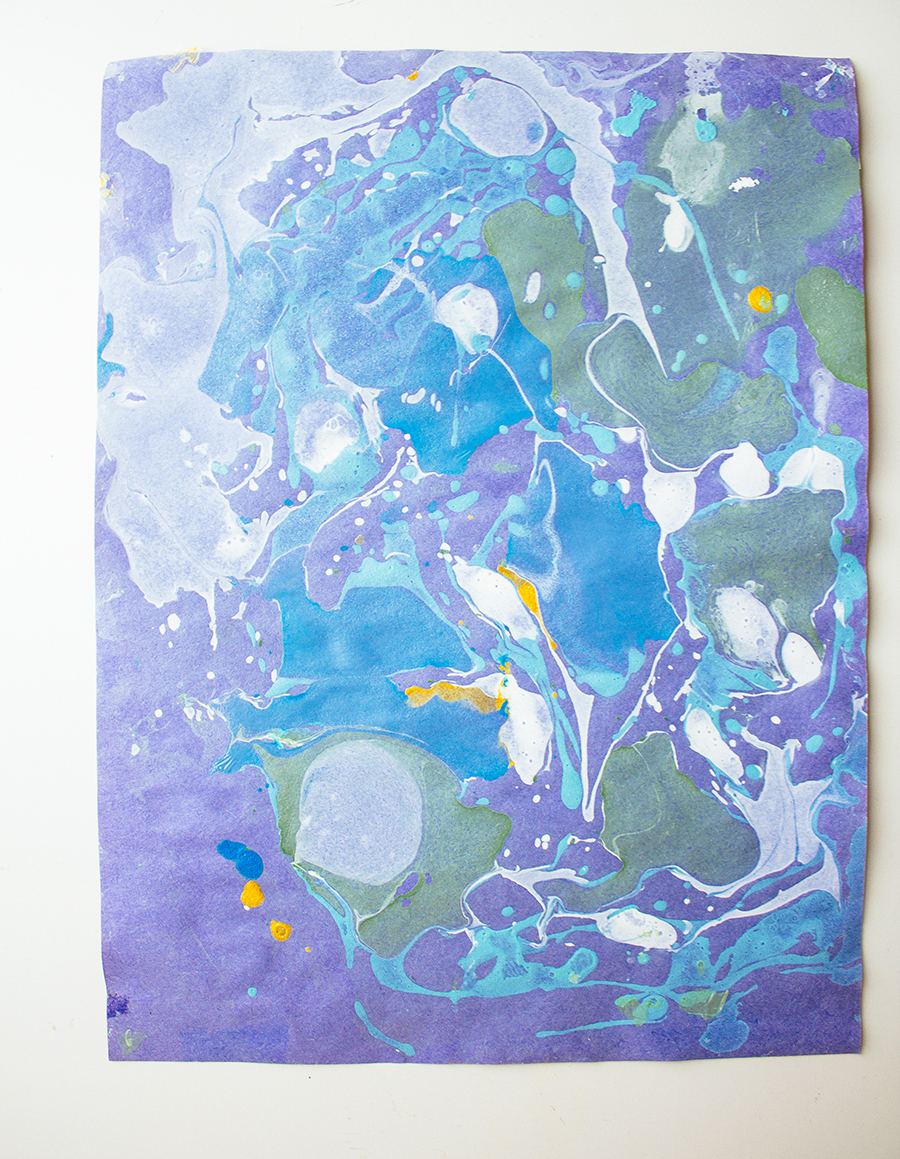
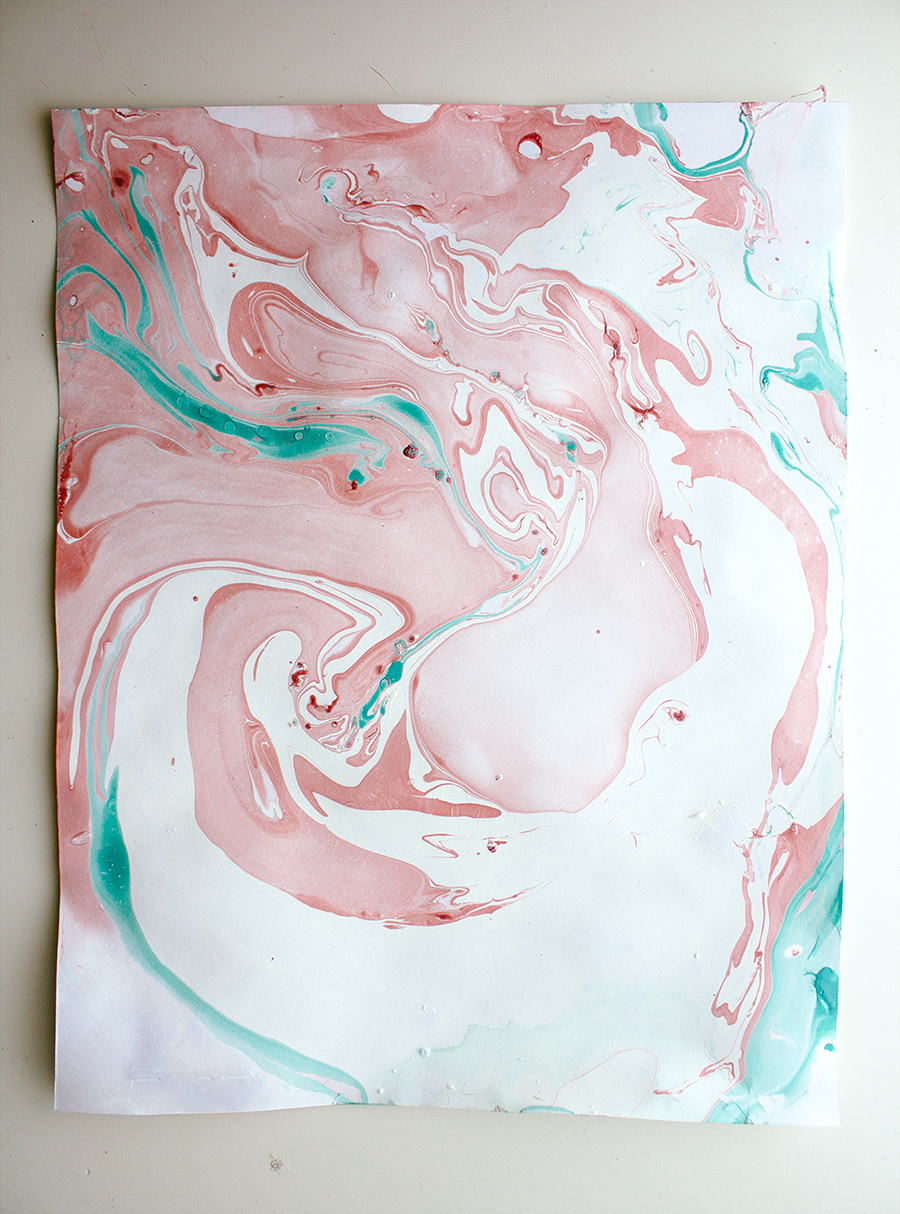
Here are a few of my favorite designs that came out for me (before pressing flat):




20 Comments
Katie @ 24 Carrot Life
I love these and think they would be great framed and hung on the well. Cheapest wall art I’ve ever seen and a great way to use up all that old nail polish I have sitting around!
Sini | my blue&white kitchen
This looks amazing! Would love to make a gray and gold one. And an own magazine? Whoa! I’m sure you have mentioned it somewhere already but this is the first time I read about it. Sounds both exciting and like a lot of work. Hey, I’m sure it will be all worth it in the end! Can’t wait to see the end product.
Crystal | Apples & Sparkle
Those are so pretty! Just my kind of DIY art project. I stink at drawing and anything freehand. This is really pretty. Good way to use up those old polishes = )
Shellywest
Crystal | Apples & SparkleSame here – I couldn’t draw to save my life. I love being creative without needing traditional artistic talent. 🙂
Grace
I love this. In this life of crazy busyness: work, blogs, magazine projects – watching colors swirl together is the ultimate zen moment.
Allyson
These are glorious. I would never have thought of using nail polish for a substitution for oil pant but I’m glad you did. There might be something useful that will come out of my cringe-worthy teenage fashion choices.
Shellywest
Allysonexactly! All the nail polish I used was from like 7 years ago when I thought neon green and black were really great nail choices.
Gabby @ the veggie nook
This is awesome! I actually just threw out a bunch of old polish, now I wish I hadn’t because I am sooo doing this!
Erika
You are so creative!!! This is awesome, particularly since I almost never paint my nails (so many jars of barely used polish) and my walls are bare and in need of decoration. I remember I had a little crafty marbled paper kit when I was little, but I didn’t know it was this easy to make with just nail polish and water! Thank you for the great idea!!
Katie @ Produce on Parade
Oh my! I love the green and blue ones, these are beautiful! I remember doing something in grade school…of course they were definitely not this gorgeous! 🙂
elsbeth
Nice tip. Would it work on fabric too?
kiblu
elsbethWhy not try it? It should work; I would start with natural fibers. In fact, I think I will try it and use the fabric in some crazy quilting.
Shellywest
kibluLet me know how it turns out! The only reason I think it could fail is because the polish sits on top of the paper instead of soaking it so it may peel right off the fabric (but maybe not). Would love to hear how the results end up for you!!
Jessica
<3
Faça você mesma: efeito marmorizado | Minha casa, minha cara
[…] das imagens 1 2 3 4 5 6 7 […]
Baking Magique
WOW! WOW! WOW! I’ve been looking for a way to easily make marbled paper but there’s always been different hard to find liquids and paints involved. This looks perfect! I really enjoyed this DIY and would love to see more stuff like this on vegetarian ventures. 🙂
Fantastic Ways to Make Marbled Paper - Stacy's Club
[…] via vegetarianventures.com […]
TOP 10 Fantastic Ways to Make Marbled Paper
[…] via vegetarianventures.com […]
Pen Pals – Southern Bell Schoolhouse
[…] Stationary: find some scrapbook paper, dollar store has varieties of paper, or get creative and make your own paper from recycled paper. Create DIY Marbalized Paper! […]
Lisa
This looks like so much fun! I’m going to try it this weekend. Can you tell me – was there a particular way you disposed of the solution, after you imprinted the paper?